Overview
As a continuation from the 'Stocktake Overview & Starting a Stocktake' and 'Stocktake Entry' articles, the next step is to Apply the Stocktake.
Prerequisites
- To access Stocktake Settings, the applicable Operator Privileges will need to be enabled:
- Operator Maintenance 'Stock Control' Tab
- General Stock Settings: "Stocktake Functions" Flag
Applying Stocktake
- Once the accurate count has been entered for each item, it needs to be applied to the system database
- To do so; click on "In Stocktake" from the side menu
- Check that all the entered amounts are correct and click Update Stock with Counts

- Once the button is clicked, it will open a new window named 'Apply Stocktake...', click on the 'APPLY STOCKTAKE' button
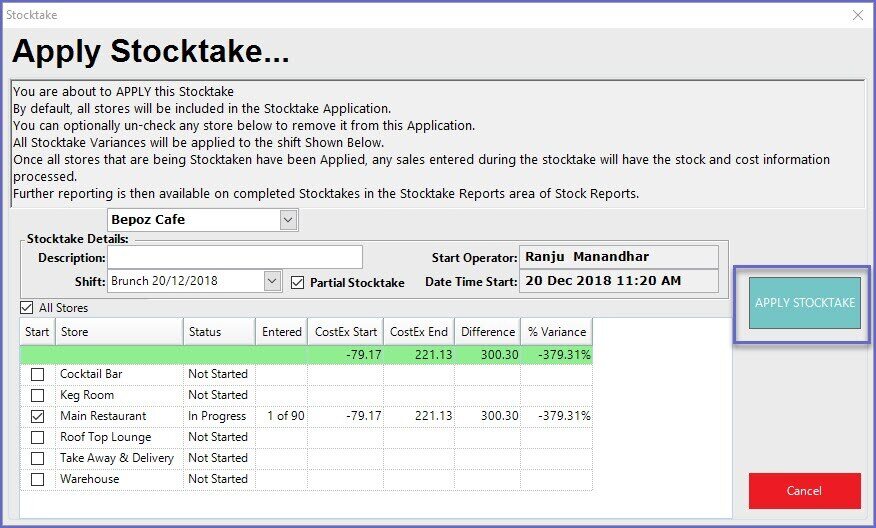
- It is recommended to read the help information at the top of the page before Applying the Stocktake; after doing this click Apply Stocktake
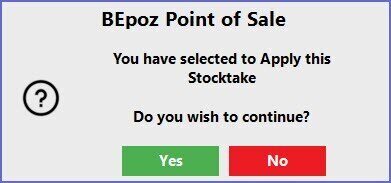
- Click Yes to continue
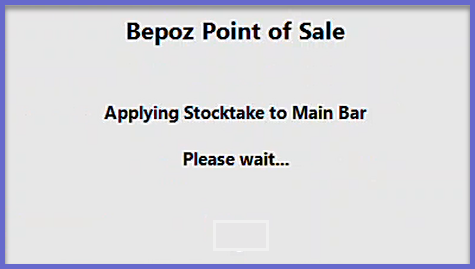
- This may open a new pop-up window to notify that Stocktake is being applied
- A warning prompt may also appear notifying of Stock Variance/s
- To continue, click Yes; to double check data before applying click No
- After Applying the Stocktake it will return to the initial Stocktake window
- This means that the processing of information from SmartPOS Workstations will resume and the system will recognize the new Stock levels
Video Walkthrough