Overview
Bepoz allows Operators to attach and detach Account to a Table.
This can allow the Account (Member) to Earn and Redeem Points, receive Member Pricing, and Charge a Table Balance to their Account.
Prerequisites
- To access Accounts & Members Features, the applicable Operator Privileges will need to be enabled
- General: "Operate Tills" Flag
- Tables: "Table Sales" Flag
- All "Accounts & Memberships" Flags
- Operator Maintenance 'Till Privileges' Tab
- An Account function will only be visible if the 'Hide Account function' within BackOffice is Off. This function flag can be found within the Flags tab of Venue Maintenance
Attaching an Account
- Once the prerequisite has been met, Accounts can be added to a Table at any time by tapping the Account function button
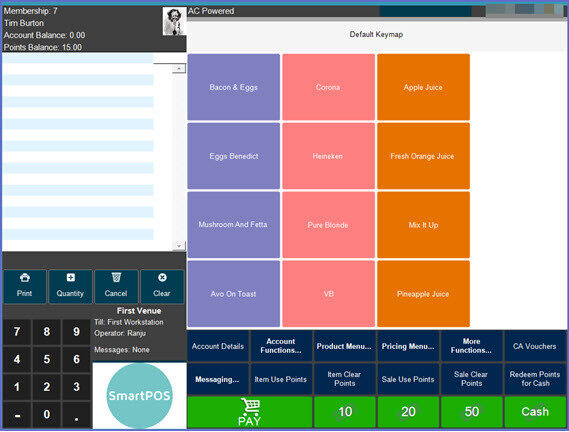
Note: In the example below, the Till Scheme has been set to "Flat"; however, if an alternate Till Scheme is being used the Account button will look different
Using the Account Number
- An Account Number can be used to access the Account by entering the Account Number using the Number Pad on the SmartPOS Workstation screen
- First, enter the Account Number; then select the Select Account function button
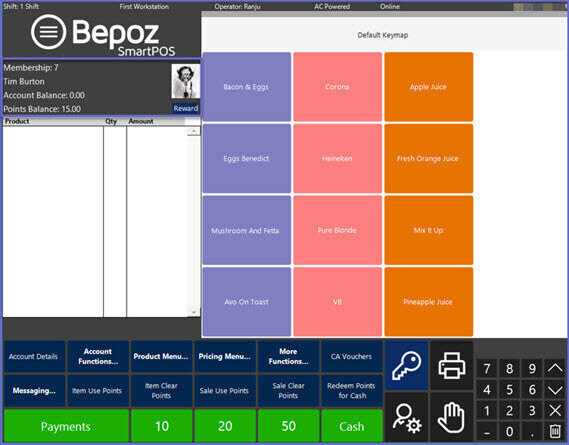
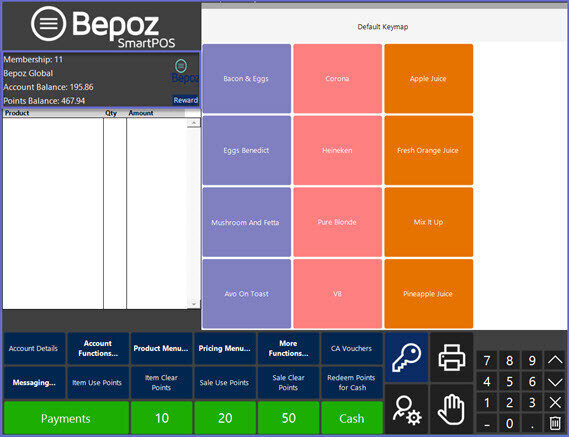
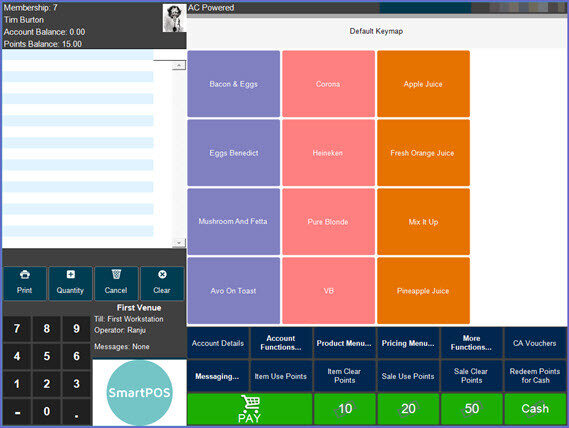
- The Account information will now be displayed in the top left of the screen, just above the Transaction Window

Navigating the Account List
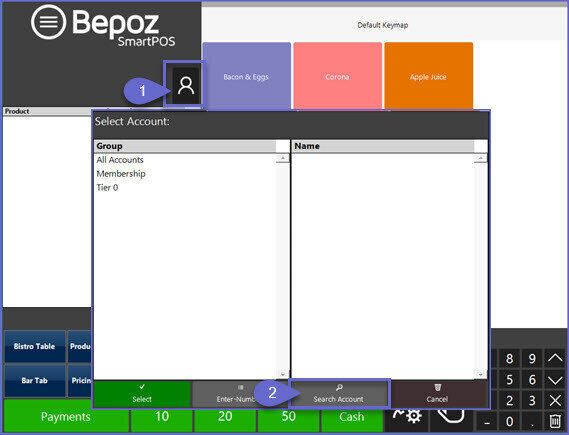
- A Select Account window will open displaying the Account Groups for the Organization
- The Operator can navigate through the Group List in the lefthand panel; tapping on a Group Name will display the Accounts within that Group in the righthand panel
- Either double-tap on the desired Account Name or highlight the desired Account Name and tap on the green Select button

Search by Account Number
- Alternatively, an Operator can search for an Account by Account Number
- First, tap on the Select Account function button
- Within the Select Account window, tap on the Enter Number button on the bottom
- A window will open displaying a number pad allowing the Operator to enter an Account Number
- After an Account Number has been entered and OK has been selected, the Account will be attached, displaying the Account information


Search by Account Field
- Lastly, an Operator can search for an Account by searching a variety of Account information
- First, tap on the Select Account function button
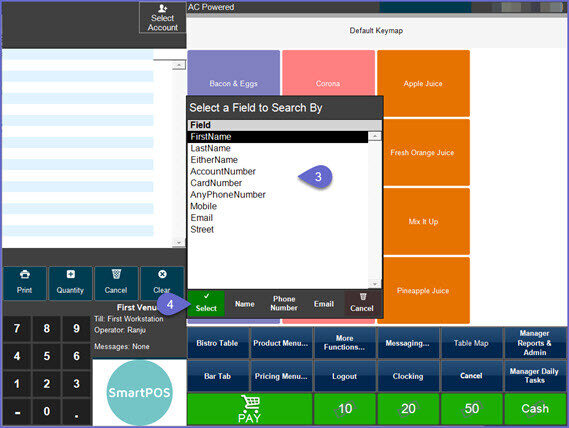
- Within the Select Account window, tap on the Search Account button on the bottom
- A window will open allowing the Operator to select an Account Field to search by, including Name, Card Number, Phone Number, etc.
- Either double-tap on the desired field or highlight and tap the Select button
- A window will open displaying an alphanumeric keyboard allowing the Operator to enter text to search by
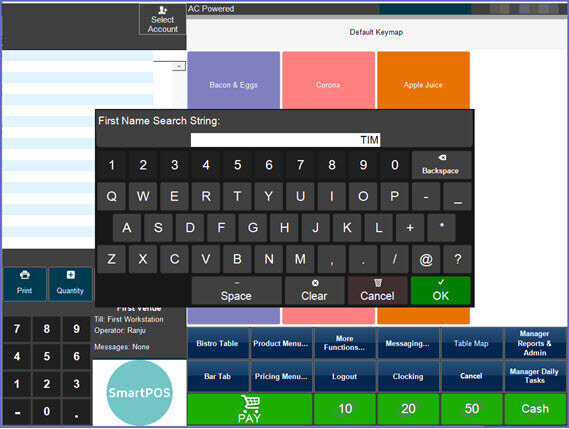
- After entering the desired text to search by and tapping the OK button, a window will open displaying all Accounts matching the searched text in the selected field
- To select an Account, either double-tap on the desired Account or highlight and tap Select
- The Account will now be attached, displaying the Account information

Detaching an Account
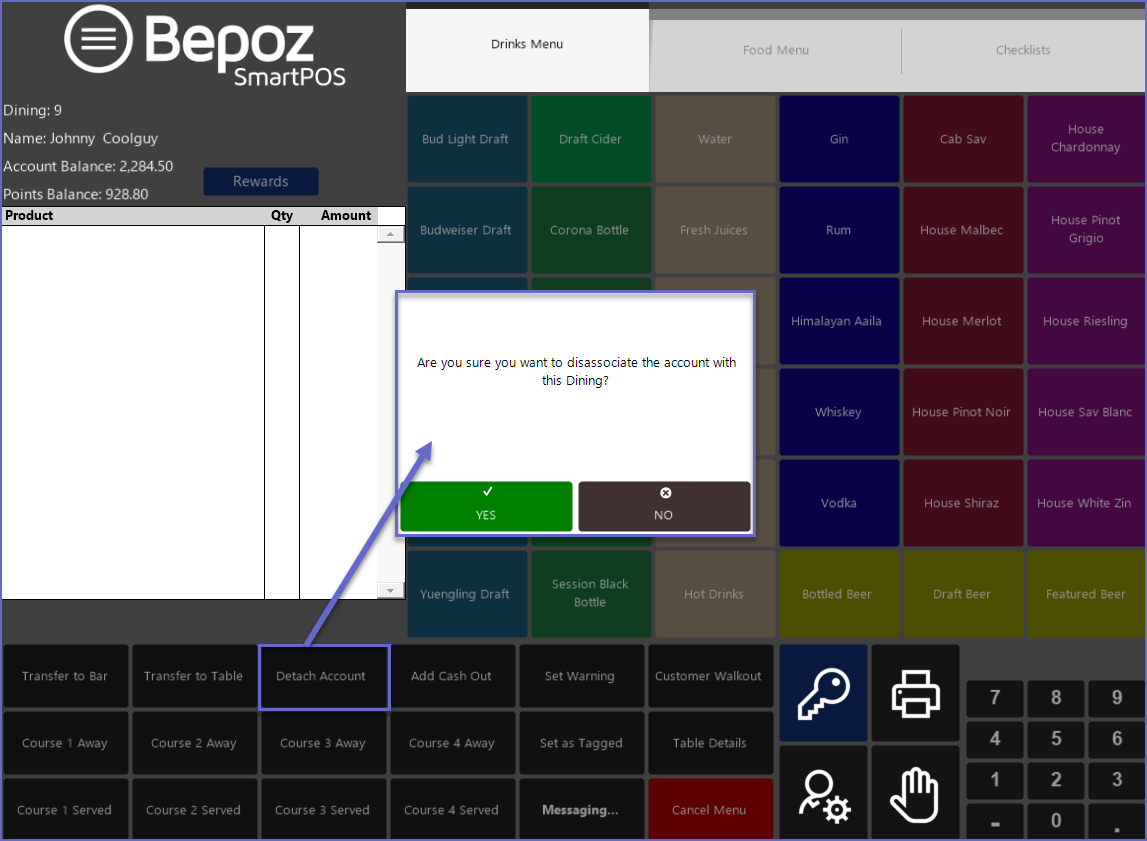
- If the Operator has made a mistake attaching an Account or needs to detach an attached Account for any reason, this can be completed using the Detach Account Till Function button
- A prompt will appear for the Operator to confirm that they would like to detach the Account from the selected Table
If the 'Hide Account function' within BackOffice is Off, meaning the 'Select Account' button (top) is hidden, the only method of opening Available Accounts is to use media. I.e. Cards, Barcodes, RFID or some other method.