Overview
Bepoz allows Operators to add images for Products, Accounts, Operators, Function Maps, KeyMaps, and Printers.
These images help to identify the subject with more ease.
Prerequisites
- To access Image Settings, the applicable Operator Privileges will need to be enabled
- Operator Maintenance 'General' Tab
- Operational Setup: "Maintain Images" Flag
Accessing Images
- To access and edit Images, navigate to the Operational Setup component in the side menu of BackOffice and select Images which will open an Images window
- This window contains a number of buttons which can be used for Adding Images, Editing & Maintaining Images and Deleting Images

Adding Images
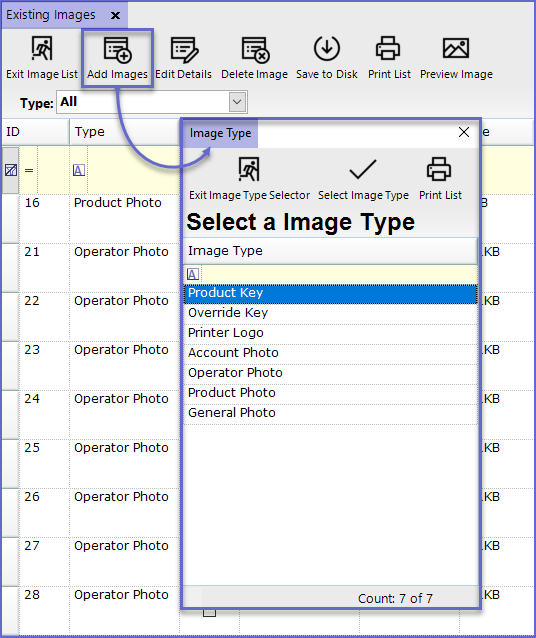
- To Add a new Image, click on the 'Add Images' button in the header
- This will open a dialogue box prompting to select an Image Type
- After the Image Type has been selected, Operators are prompted to either select an existing file or to capture a new photo using a connected device like a Webcam.
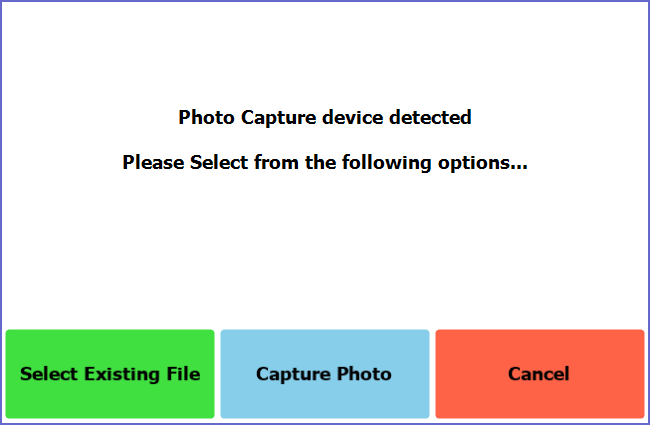
- The 'Capture Photo' option is only available when a camera is connected to the system
- If Operators choose to upload the image from among existing files, a standard File Explorer will appear allowing to navigate the PC to locate the required file
- Once the Image is selected, Operators can choose a required resolution for the image and it will be uploaded
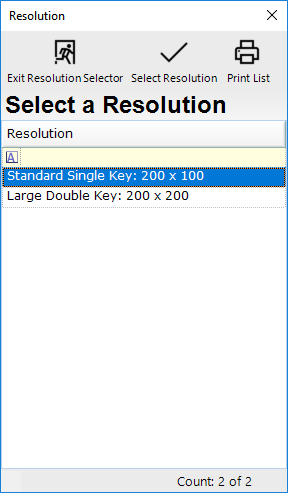
- The image resolution option depends upon the type of image being uploaded
Image Type |
Resolution |
| Product key |
|
| Override Key |
|
| Printer Logo |
|
| Account Photo |
|
| Operator Photo |
|
| Product Photo |
|
| General Photo |
|
- To prevent Image distortion, it is recommended that the image is in current pixel ratio prior to being uploaded
Note: There are different image settings pers Image Type.
Edit Mode
- To Edit an Image or a Line, click on the 'Edit Image' button in the header which will allow editing the selected line
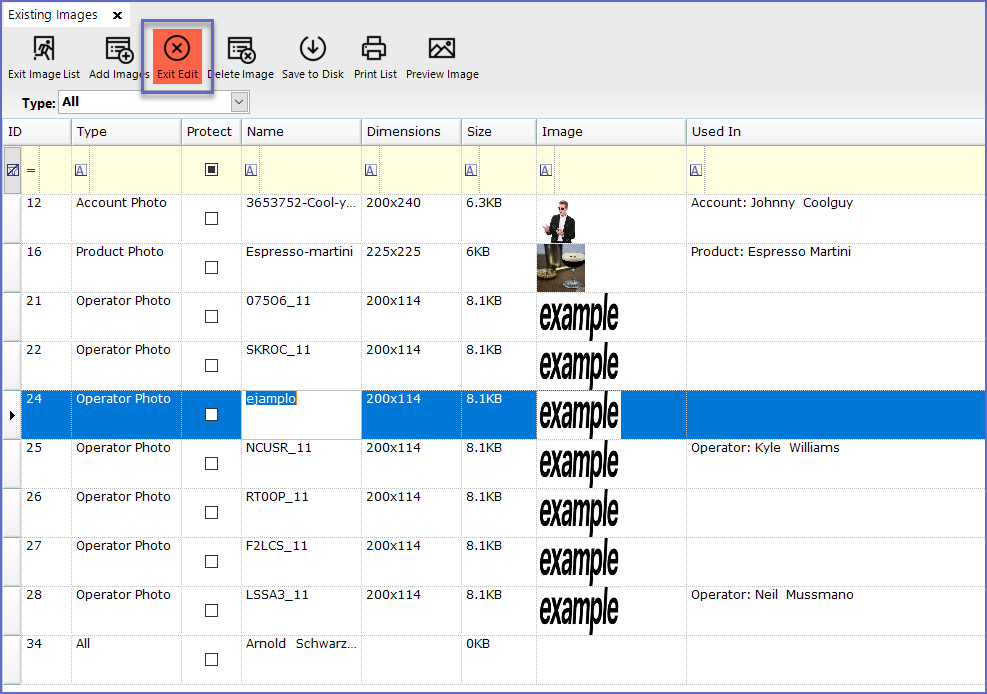
Other Functions Delete Image
- To Delete an Image, highlight the line and Press on the 'Delete Image' Option at the header. This will delete the selected line
Note: the images need to be removed from where they are set first.
Save to Disk
- This function will Save the images to the local disk or selected disk
- Press on the 'Save to Disk' function which will open a standard File Explorer allowing Operators to navigate the PC to locate the required folder
Preview Image
- To preview an Image, highlight the line and click on the 'Preview Image' button at the header
- This allows double-checking the Image at full size before using it
