Overview
This article explains how to manually send sales, stock, and purchase invoice data from bepoz BackOffice to Xero.
Data can be transferred to Xero manually from bepoz BackOffice or automatically using a Scheduled Job. Automatic transfers may be configured separately and can run as frequently as required.

Prerequisites
Ensure:
- The Xero integration has already been configured.
- You can log in to bepoz BackOffice.
- The Xero Accounting menu is available in bepoz BackOffice.
📌 Note: If the Xero Accounting menu is not visible, contact bepoz Support.
Sending Sales to Xero
- Log in to bepoz BackOffice
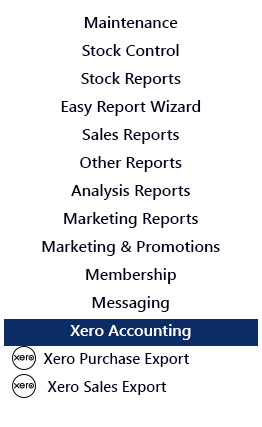
- Select Xero Accounting
- Select Xero Sales Export
- Select the required Date
- Confirm whether Send Sales and Send Stock should be ticked
- Click Export
- Wait for the export process to complete
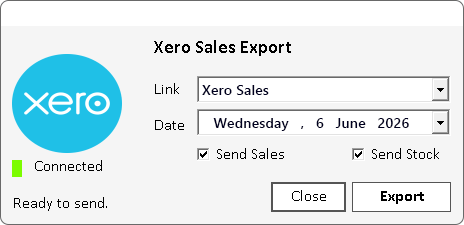
The export may take some time depending on the selected data and integration settings. A confirmation message will appear when the sales have been sent.
📌 Note: Use Send Sales and Send Stock to resend only sales data or only stock data if information has changed in bepoz after a previous export.
Sending Purchases to Xero
- Log in to bepoz BackOffice
- Select Xero Accounting
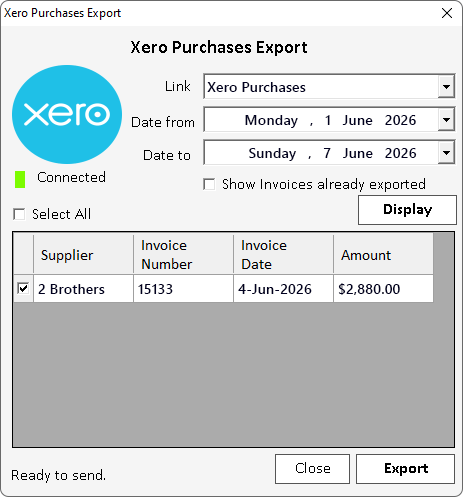
- Select Xero Purchase Export
- Review the list of purchase invoices that have not already been sent to Xero
- Tick Select All to send all listed invoices
- Click Export
- Wait for the export process to complete
Resending Purchase Invoices to Xero
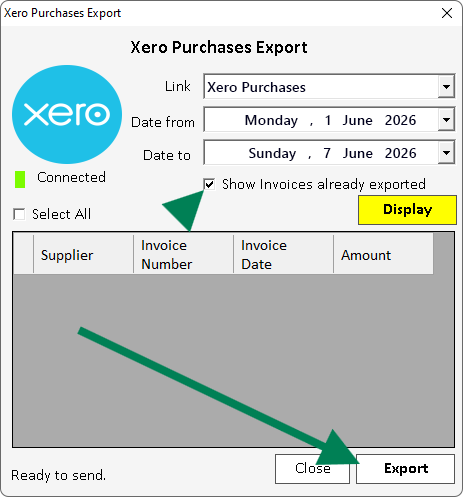
- Open Xero Purchase Export
- Select the required Date from
- Select the required Date to
- Tick Show invoices already exported
- Click Display
- Tick the invoices that need to be resent
- Click Export
Confirmation
After the export completes:
- Confirm that bepoz reports the export as completed.
- Confirm the expected sales, stock, or purchase invoice data appears in Xero.
- Contact bepoz Support if the export fails or the Xero Accounting menu is not available.
updated to: bepoz v4.9.0.2